Are you creative and artsy? If so, this is the page for you! We'll share arts and crafts and other artsy stuff we you on this page.
How to Make Edible Chocolate Slime
Hi guys! Today I am gonna teach you how to make this:
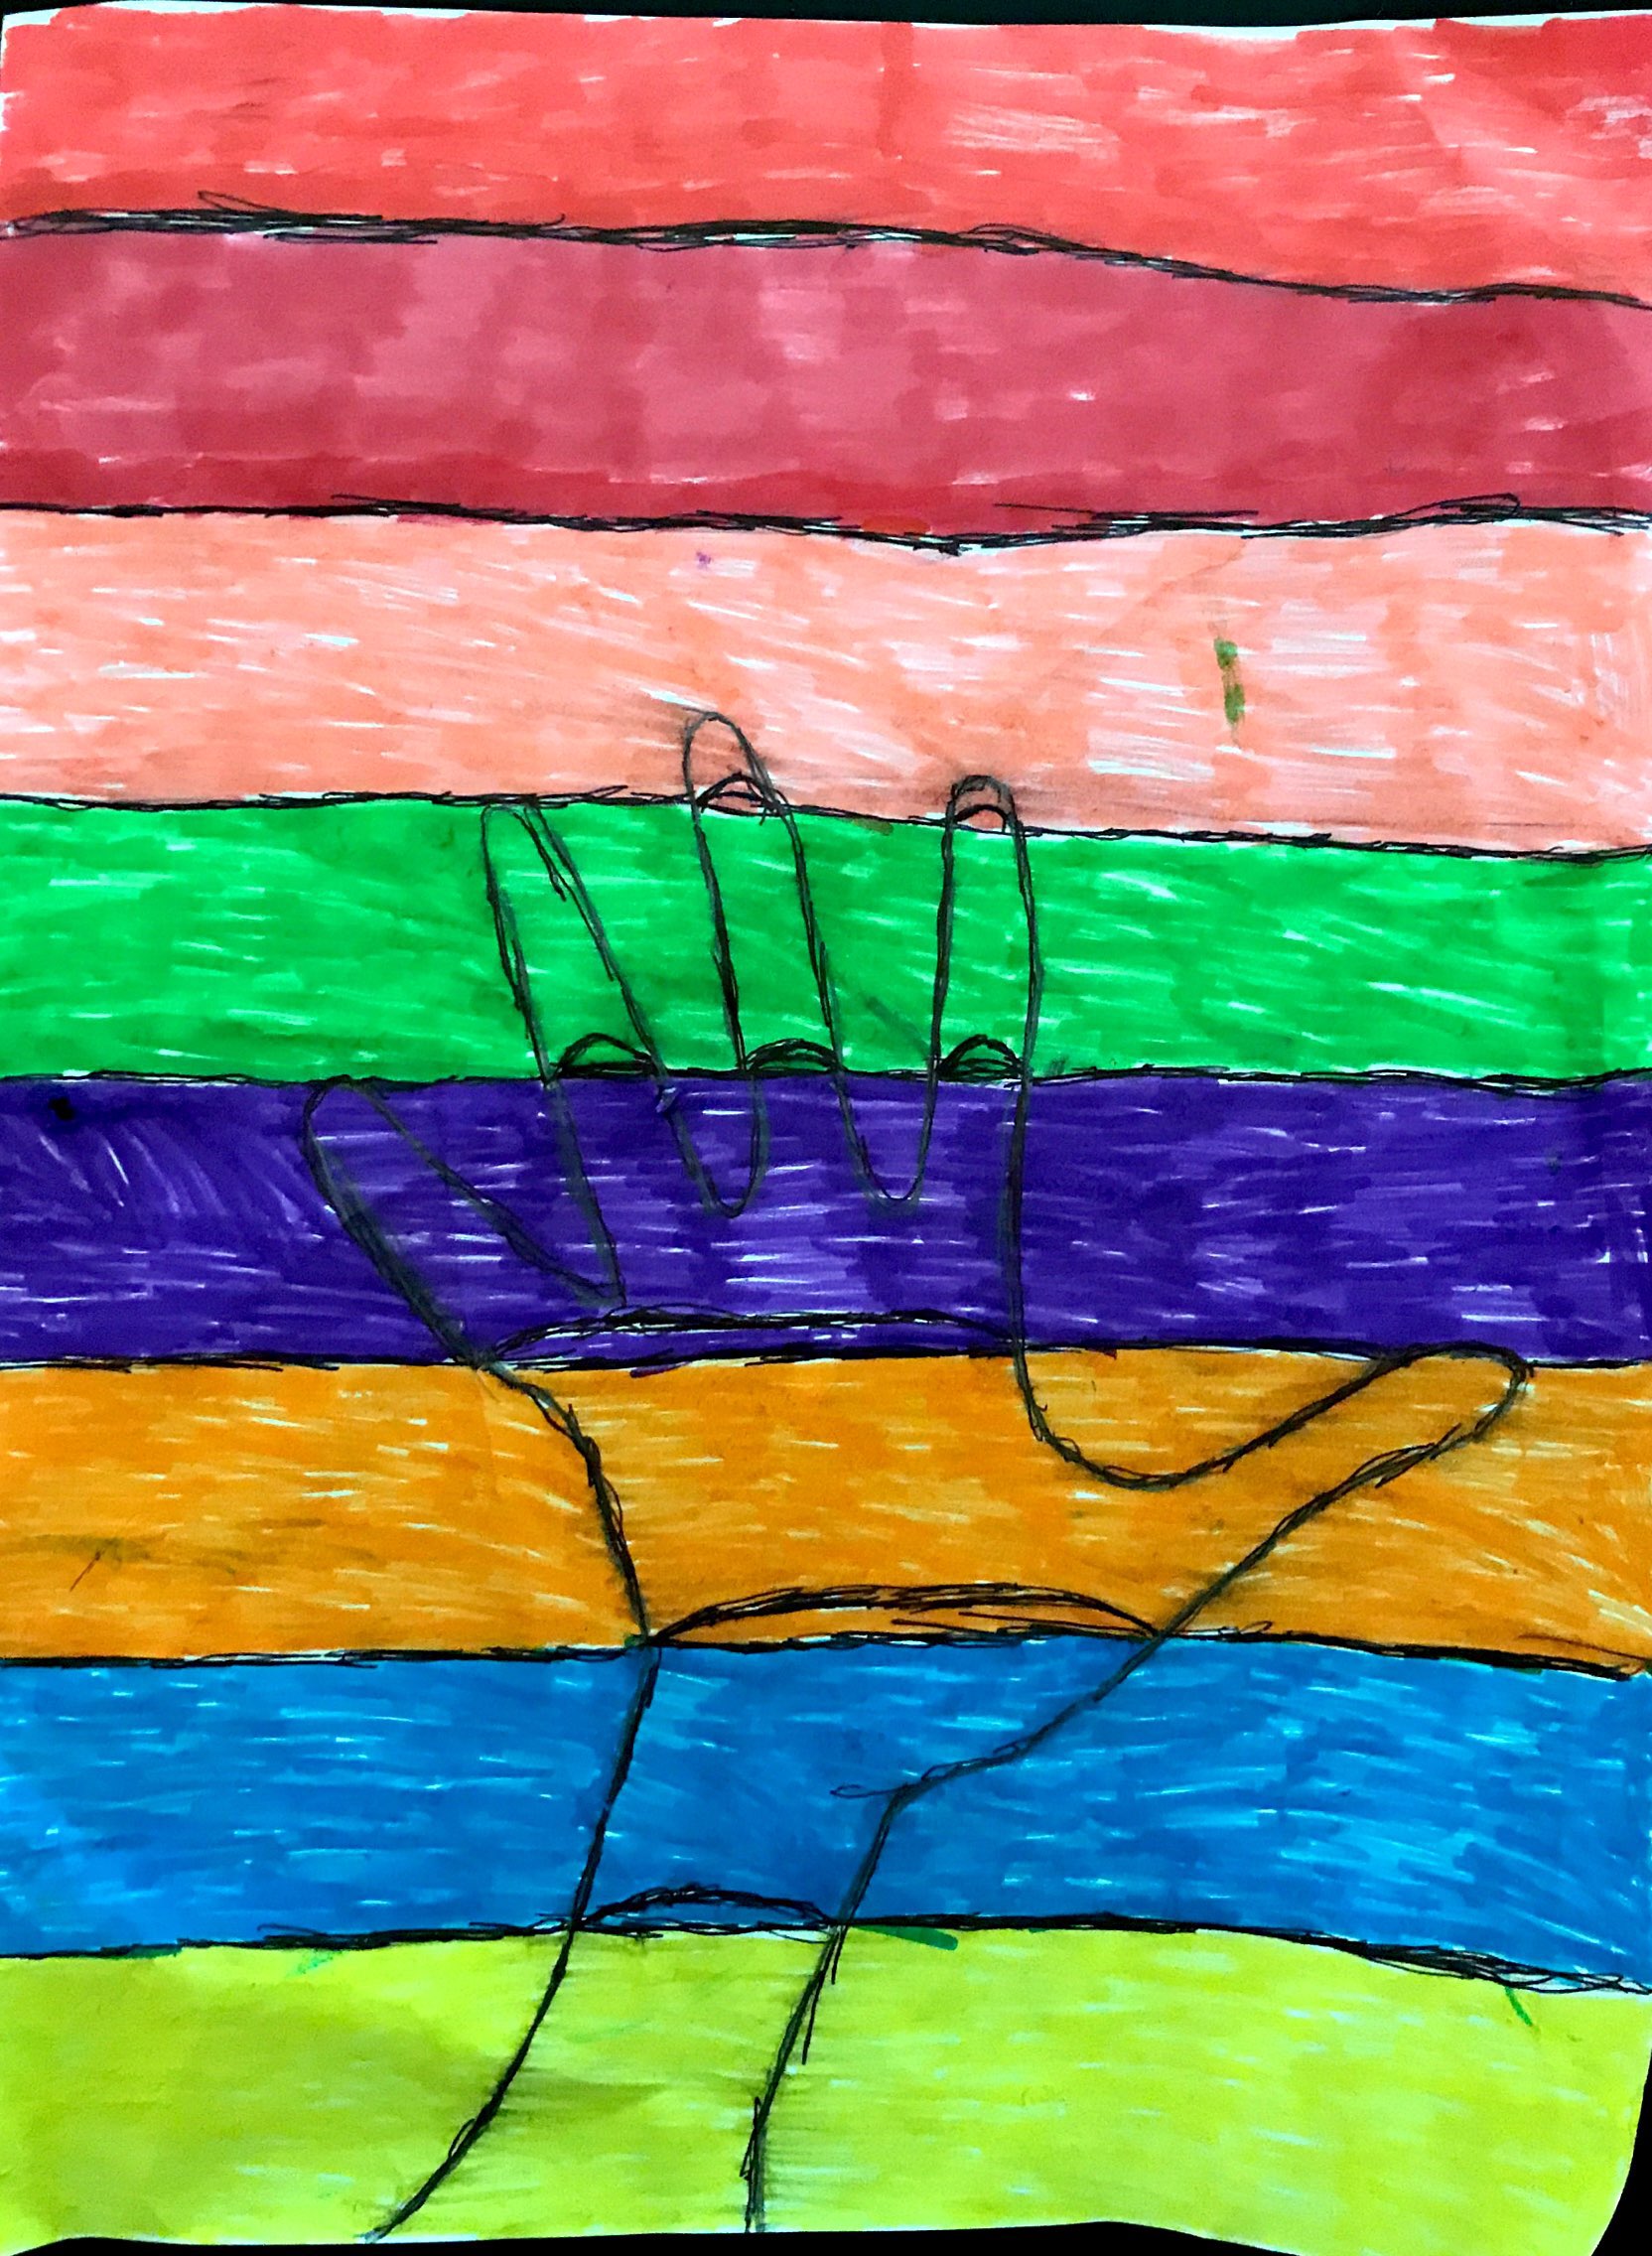
Your going to need : markers,blank white paper,a ruler,a black pen,and a pencil with eraser.
Step1:Take your blank white paper,ruler,and pencil.Line up the bottom of the ruler with the bottom of the paper.Make a straight line with the pencil.The line should line up with the top of the ruler.Repeat this procedure until you get to the top of the paper.Then overline the wanted pencil lines with the black pen.
Step2:Put your hand flat on the paper.If some of your arm fits on the paper,keep it flat.Trace your hand[and arm]with the pencil.Then overline the wanted pencil lines with pen.
Step3:Use your markers to color between the sections made by the ruler.Add half circles on any line where a part of your hand or arm intersects with that part of the line.Use the pen for this.
Great job! you made a colorful hand! Contact us or comment to tell us about this craft. Bye!
Hi guys!For all of you that like magic,here is a way to to make a magic wand.(Does not do real magic)So lets wave our wands and begin.
You will need:
First you are going to put the paint brush you want to be your wand in the middle.Use the other paint brushes to paint the wand/paintbrush.Let the paint dry.
The next steps are tricky
You can use only the hot glue gun only for a sharp look,or use the wool for an ancient look.
Make designs using the hot glue.Do this quickly.If your adding yarn or wool,add the material on the design,quick.
Let this dry,then paint the matireal of your chosen color.If you would like,use extra decorations to make your wand bright.
Now you have made a wand.Thanks for tuning in!Give us feedback about this craft by commenting or contacting us.Bye!!!!
Hi guys!I am going to teach you how to make a poster about yourself.
You will need:
First,draw 8 triangles on the white paper using a pencil.Use the ruler and image as a guide.
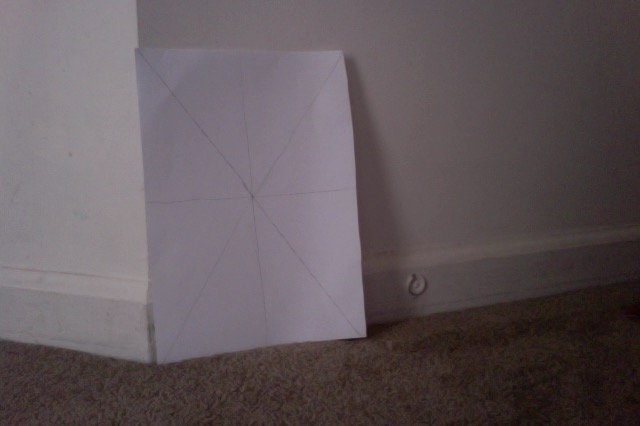
Next,cut triangles from the colored paper.The triangles should match the size of the ones on the paper.
Glue your triangles into their spots.Make sure the triangles are in the right places.
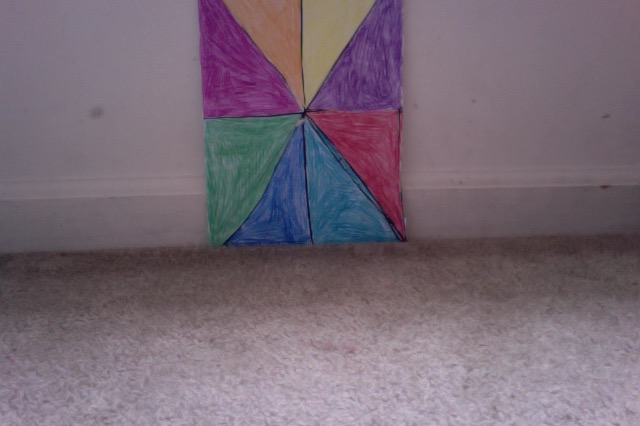
Cut strips of colored paper.These strips will be your divider of your triangles.Glue them between the triangles{over them}
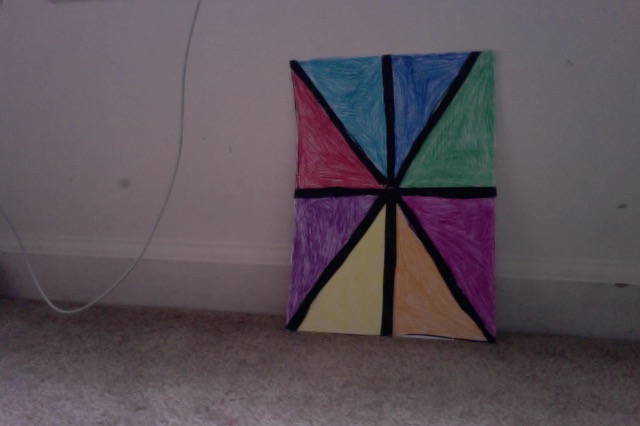
Cut a cool shape out of colored paper.Glue it in the middle of the page.Write "I am" and your name.
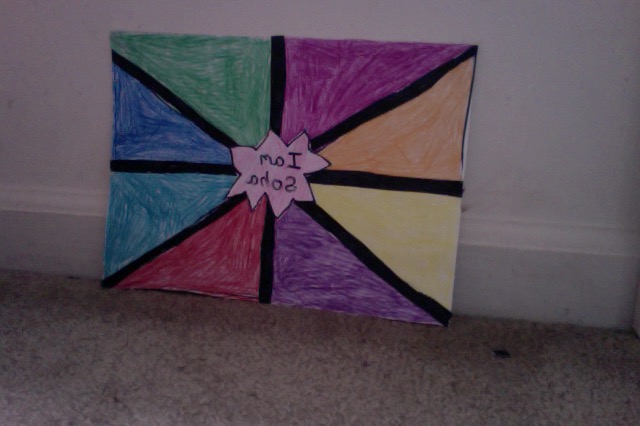
Write down words that describe you.Glue them on the poster.
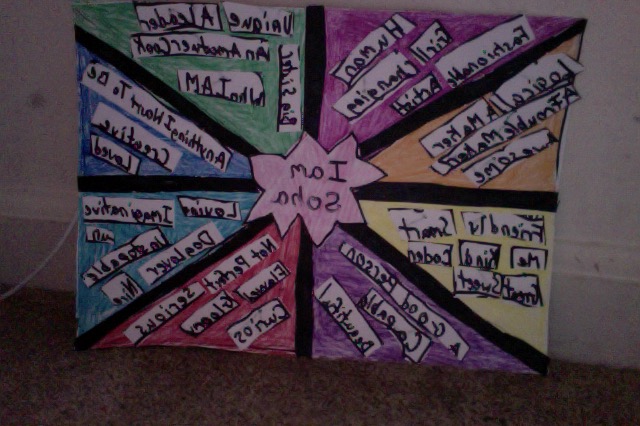
Your done!Great job making the poster!Tune in next time for more.Bye!!!!
August 29,2017: Summer Poster
Hi guys!Have you had an epic summer? If you have, this craft is for you! I am going to teach you how to make a great poster that records your summer. You will need:
First,tape the four pieces of paper together.All together they should be a big square.
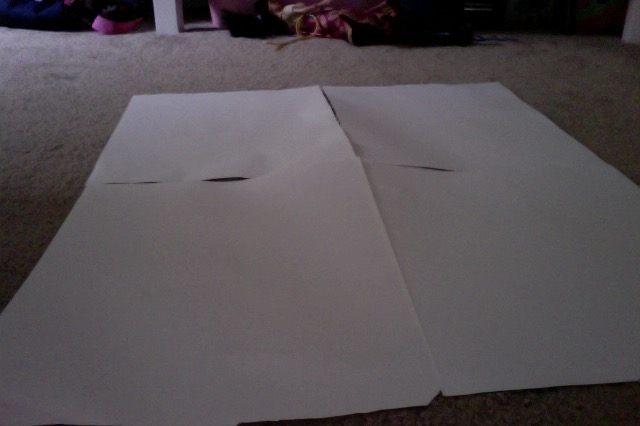
Write a time line of your summer.What camps you did,what places you went to,who you were with.
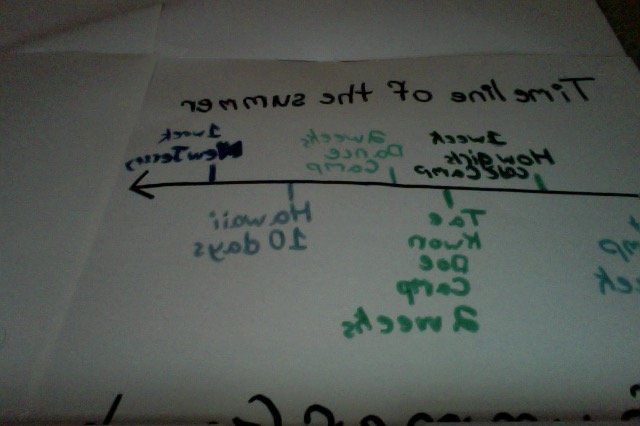
Make spaces on your poster where you can write about one specific thing in each space
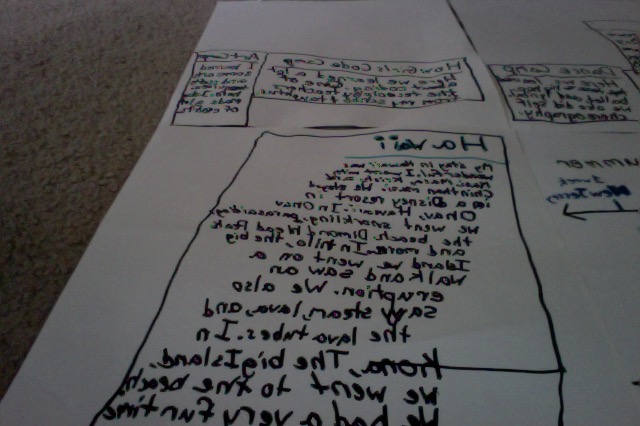
Draw pictures on your poster.Make it look as awesome as your summer.
Last but not least write "the summer of 2017" or whatever year it is as your title

I hope you like this craft.Tell us on the contact page or in the comments what you think of it!
Hey guys! We havent posted anything on this page in a while, so here's a tutorial on anime drawing. This tutorial is on drawing the upper part of an anime character, sholders, neck, and face. Oh, and happy 4th of July! You will need:
I like to start from the bottom and work my way up, so let's start with the sholders. Draw a very slightly curved line for the upper part of the arms with the pencil. Then draw a curve for the sholder. Next, draw a upward curve that will start the neck. Make sure you do the same thing on the other side! Finally, draw some straight lines for the arms.

Now the neck is simple. just draw a straight line on each side where the sholder ends. Then, draw a curved line for the top of the shirt.

Now the for the rest you can do a lot of things. For a basic face shape, draw a circle that looks slightly like an oval. Now right where the neck is, draw a slight point for the chin.

For hair, I'll put male hair and female hair.
For male hair, make ears first by make a half heart shape. Above the ears, draw a couple triangles for the start of the hair. Then draw a curved line for the top of the hair and a couple triangles on the other side above the ears. Finally, at the forehead, draw triangles for bangs.

For female hair, if you want the hair to be tucked behind the ears, draw half heart shaped ears. If you want the hair to cover the ears, don't draw ears. draw hair with a curve at the top of the head and small triangles for hair that goes down to about the shoulders. You can add small triangles at the foehead for bangs.

Now for a mouth! Here's a couple examples:

Here's a couple examples of noses:

Time for the eyes! The eyes can be as complicated or simple as you want. The eyes will show a lot of emotion, so make sure you put in details that show emotion! Here's some examples:

You're done drawing! Now for color! If you don't want to, you don't have to. Use the colored pencils if you want to color. Watercolor pencils look great with anime, but any colored pencils can be used. We will have a watercolor pencil tutorial soon. Have fun coloring your drawing! You can outline your drawing with the pen or sharpie if you want.


Finally, sign your drawing with the pen or sharpie! I hope you liked this anime drawing tutorial! Please contact us and send us your drawing or some ideas for arts and crafts we could try! Also, comment or contact us about what you think of this craft.
© 2017, Lila and Soha. All rights reserved.